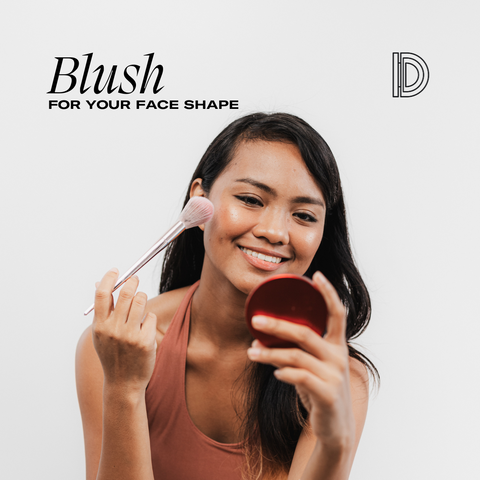
Different Strokes for Different Folks: Blush placement for your face shape
Blush can be a game-changer in your makeup routine, adding a healthy glow and dimension to your face. Thanks to TikTok and Instagram Reels, we have a countless number of blush trends to choose from — cold girl makeup, blush as contour, reverse blush... However, the key to getting a failproof blush application comes down to understanding your face shape. I’m going to walk you through the best blush placement techniques for round, square, oval, and heart (reverse triangle) face shapes. Once you get the sense of how blush placement can change the look of your specific facial features, it becomes 100% about your personal preference and unique style. For example, I have a full, round face and usually go for an upward blush application, but I can't resist a “sunburnt” look across the nose. It’s traditionally for oval or longer faces, but I just love how fresh and natural it looks. Ok, I could talk about blush all day so let’s just get into it…
Step 1: Identify Your Face Shape
Before applying blush, determine your face shape. Here’s a quick guide:
- Round: Soft, rounded edges with a face almost as wide as it is long. (Mindy Kaling, Chrissy Teigen)
- Square: Strong jawline and broad forehead, with a face almost as wide as it is long. (Mila Kunis, Olivia Wilde)
- Oval: Rounded jaw and forehead, with a face longer than it is wide. (Rihanna, Zoe Kravitz)
- Reverse Triangle: Wider forehead and cheekbones, tapering to a narrow, pointed chin. (Reese Witherspoon, Zendaya)
Step 2: Choose Your Blush
Once you know your face shape, select a blush color that complements your skin tone. Disclaimer: Here are some GENERAL guidelines but remember, they are just that—guidelines. General skin shade, tone, undertones…there are LEVELS.
- Fair skin: Soft pinks, peaches.
- Medium skin: Rosy pinks, apricots.
- Olive Skin: Coral, warm peach, rose, and terracotta shades work beautifully.
- Dark skin: Deep oranges, reds, plums.
*Undertones: Knowing your undertone (cool, warm, or neutral) helps in selecting the most flattering blush. Cool undertones look best with pinks and berry shades, warm undertones suit peach and coral hues, and neutral undertones can experiment with a range of colors.
Step 3: Apply Blush for Your Face Shape
Round Face Shape
Goal: To create the illusion of a more defined, elongated face.
Technique:
- Smile to find the apples of your cheeks.
- Apply blush slightly above the apples of your cheeks, blending upwards towards your temples and hairline, creating a lifting effect.
- Avoid applying blush too close to your nose, as this can make your face appear rounder.
Effect: Creates lifted cheeks, making the face appear more elongated and youthful.
Square Face Shape
Goal: To soften the strong jawline and create a more round but sculpted appearance.
Technique:
- Smile to find the apples of your cheeks.
- Apply blush on the apples of your cheeks and blend outwards towards your temples.
- Focus on blending the blush in a circular motion to soften the angles of your face.
Effect: Softens the face and creates a more balanced look.
Oval Face Shape
Goal: To enhance natural symmetry and add a healthy glow.
Technique:
- Smile to find the apples of your cheeks.
- Apply blush directly on the apples of your cheeks and across the bridge of the nose blending horizontally and outward to create width across the center of the face.
- Blend well.
Effect: Creates a sun-kissed effect and the illusion of a shorter face.
Reverse Triangle/Heart Face Shape
Goal: To balance a wider forehead and narrow chin.
Technique:
- Smile to find the apples of your cheeks.
- Apply blush slightly lower on the apples of your cheeks, blending outwards towards your ears.
- Avoid applying blush too high, as this can accentuate the width of your forehead.
Effect: Adds balance to the face and creates the illusion of a softer, more balanced face shape.
Step 4: Blend and Finish
No matter your face shape, blending is key to a natural look. Use a fluffy brush, damp makeup sponge, your fingers to blend your blush seamlessly into your skin.
By following these steps, you’ll be well on your way to mastering blush application for your face shape. Remember, practice makes perfect, so don’t be afraid to experiment and find what works best for you. You can make the blush trends work for your face shape. Tag us on IG @dehiyabeauty to show us your blushing techniques!
Comments (0)
There are no comments for this article. Be the first one to leave a message!